Caring for your Cast Iron Pan: a proverbial piece o’cake

Honest!
Ohhhh this is an easy one, gentle readers, that is, learning how to care for your cast iron pans, though you may be skeptical. I’ve been asked about this particular topic more than nearly any other, save chickens. In fact, I was at a social occasion awhile ago, and the topic of conversation worked its way (as it will) to cast iron pans.
I didn’t realize that I was taking my life into my hands when I remarked breezily that taking care of cast iron pans was a proverbial piece o’ cake, and that I had several and used one or more of them, like, every single day. A group of ladies, lovely friends of mine who all own cast iron skillets, but weren’t sure how to take care of them, how to get them clean, how to keep a nice seasoned finish, et al, turned on me!
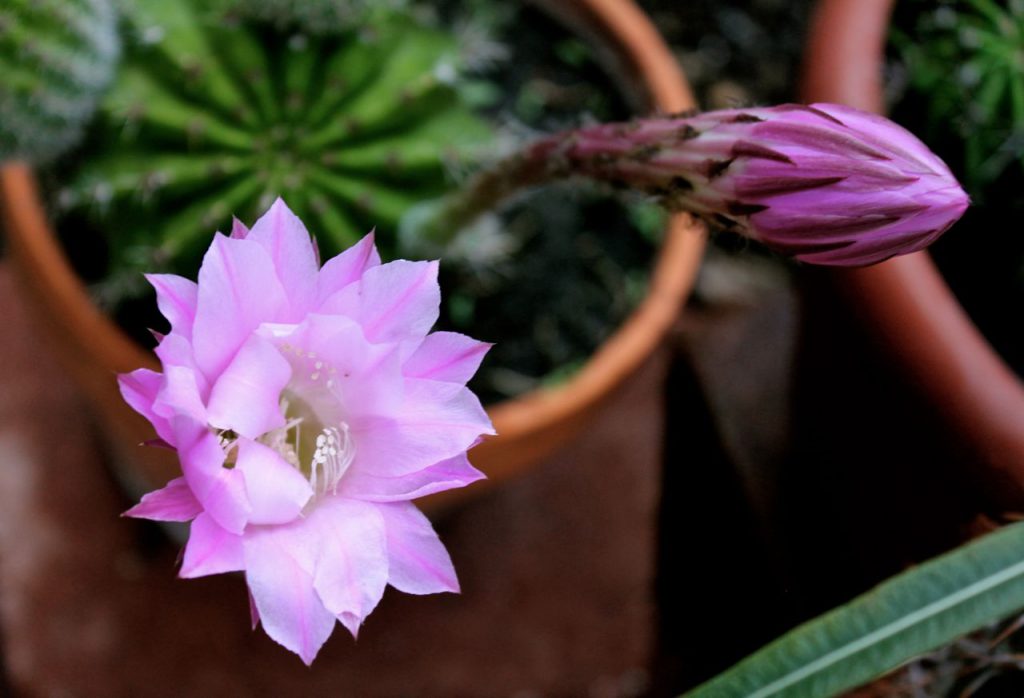
THIS is not a cast iron pan. It is a beautiful cactus blossom at my Mom’s house. But I knew you’d love to see it.
“Amy, when are you going to write a post about this?” one of my friends asked. I was (literally) cornered, and lest these mild-mannered ladies pick up their (dusty, but heavy) cast iron skillets and come after me, I’m doing my due diligence and am sharing what I know to be true about the care of cast iron skillets. It seems that there are a lot of misconceptions concerning cast iron pans out there, myths, old wives’ tales, the gamut. It spooks people, you know, having so many choices. It makes them worried about making a mistake, or breaking something.
But you can’t break a cast iron pan. (Well. For the record. Mack insists that he could break one, but I don’t think it would be easy.)
As so often happens, a very simple and straightforward task has been made needlessly complicated by too many voices chiming in. In essence . . . we are not our practical grandmas, where cast iron pan common sense is concerned (please say that phrase three times, fast). I’d be honored to be either of my grandmas, truth is, especially where common sense and knowledge of basic living skills is concerned. . . . but before we go any further . . .
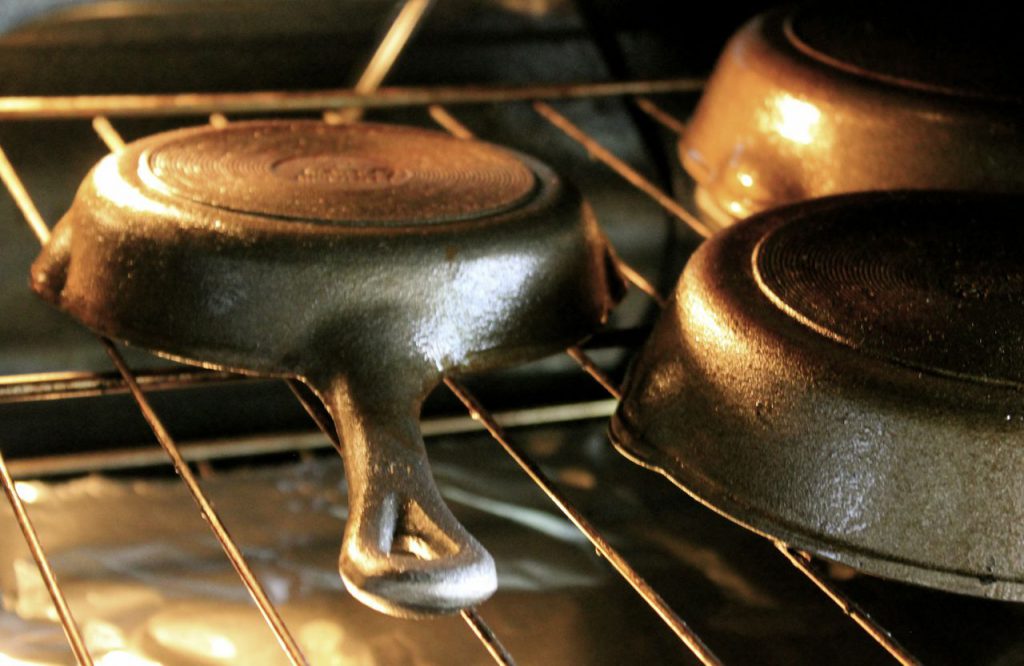
Take a peek at what I recently picked up at a garage sale for $5.00. Yes, that would be for all three of them (it was the second day, so everything was half off):
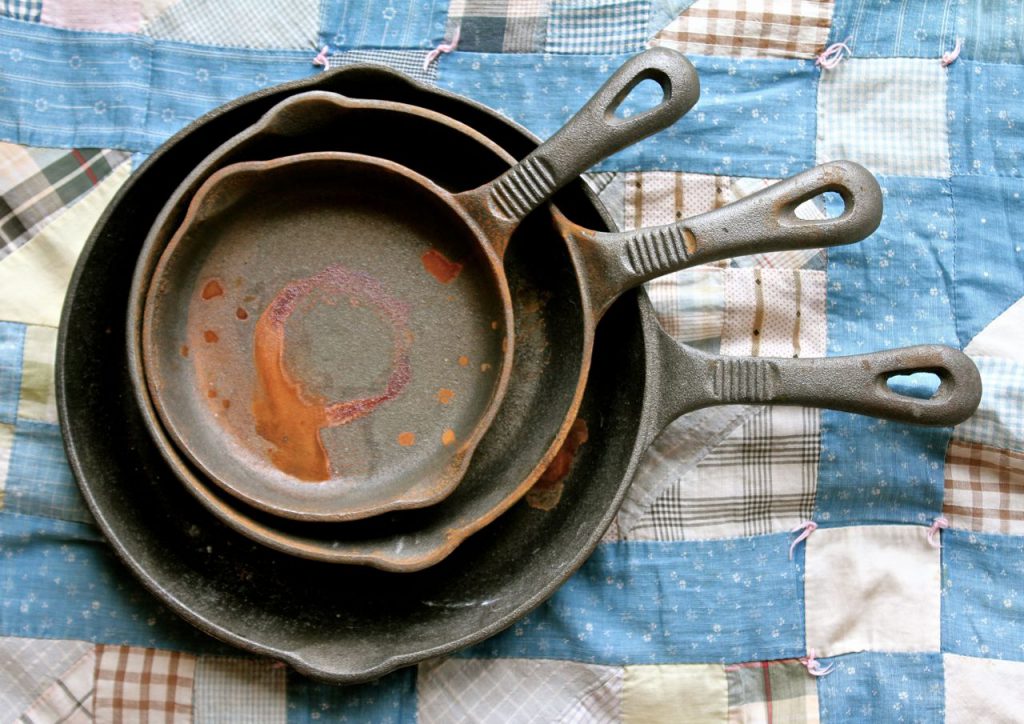
What you see, and what I picked up for a very cheap song, is a set of three indestructible cast iron pans. They don’t look like they’ve EVER been used. They are not seasoned, so it will take an extra step before they are ready to use. Also, somebody (cough) put a glass of water inside that one on top, which resulted in rust, which is exactly what you want to avoid in your cast iron pans. Not to worry. I’m up to the task to fix these babies. I absolutely love cast iron pans. I will snatch them up at garage sales or second-hand stores so fast, it will make your head spin. Don’t get between me and a cast iron pan, (especially the vintage ones!) or a fine old book, either, I’ll just warn you right now.
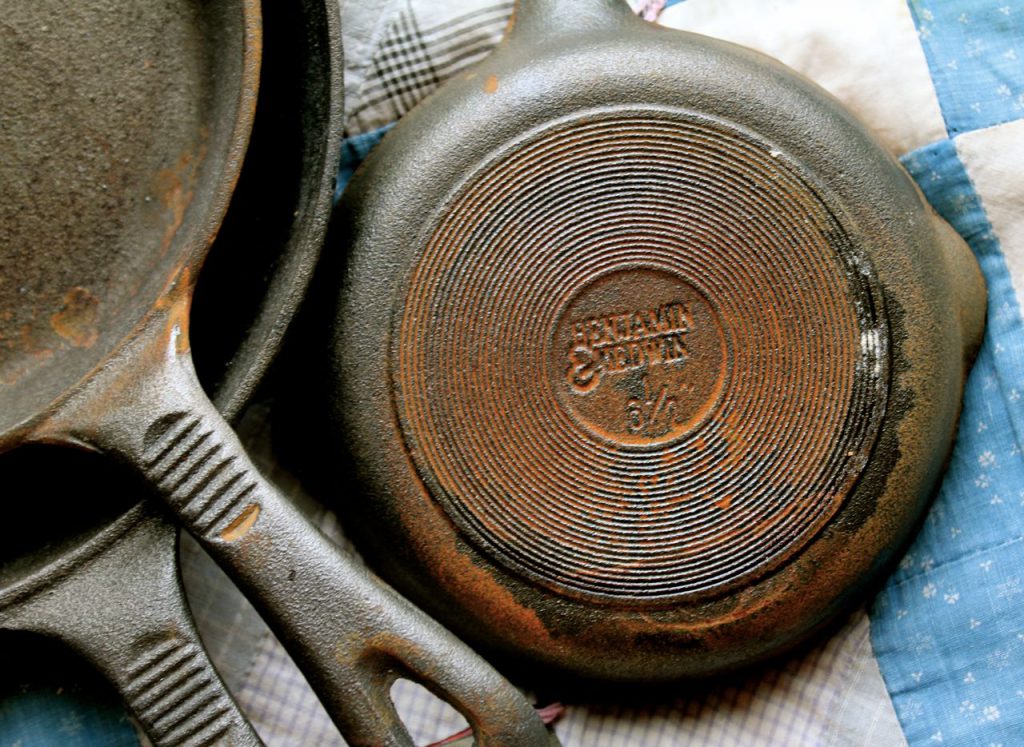
I didn’t recognize this brand, Benjamin & Medwin, so I did a little digging. Most sources say that these pans are made in China, and are not vintage (two strikes against them for many cast iron purists), but Christopher Kimball, the writer and producer of Cooks Illustrated magazine, has stated that he really likes these pans. He says that they are lighter-weight and yet will do everything you want a cast iron pan to do. And I figure if they are good enough for my friend Christopher, they are good enough for me!
Oh, and by the way: a good cast iron pan is relatively cheap, especially when you consider that it will last forever, probably (as long as your little Mack doesn’t try to prove that it can be broken!), and that you can do so much with it!

Honestly, what a deal: a brand-new Lodge cast iron skillet, for around $15.00, and with free shipping. Incredible!
Okay, here we go: to properly season a cast iron pan, you need some sort of fat (coconut oil, vegetable oil, olive oil, or lard all work well) and heat. Here are my easy-peasy instructions on how to wash, season, and maintain a cast iron pan. Prepare yourselves. It’s easier than you think.
1. Use soap the first time, and it’s okay later, too.
When you bring your cast iron pan home from a garage sale or the kitchen store, wash it well with hot soapy water. And later–when you are using it in your kitchen–don’t be afraid to use hot soapy water when necessary, for a quick scrub. Many sources say that soap will ruin the seasoning on a cast iron pan, but I haven’t found this to be true. #mythbusted!
When your pan has been rubbed with oil and heated repeatedly, the oil breaks down into a plastic-like substance that has bonded to the surface of the pan: so what you are cleaning is not a layer of oil, it’s a tough thin layer of polymerized oil. Soap and scrubbing will not harm it!
2. Season your pan in 5 easy steps. (6, if you count the glass of wine step)
So if your pan is unseasoned (like my yard sale finds, above) or underseasoned (like the one that your Aunt Helen gave you, that hasn’t been used for years), it’ll need a little extra attention. Here’s what you need to do: after you 1. scrub it with hot soapy water, 2.dry it thoroughly, and then 3. rub it all over with your oil of choice (every surface, even the bottom: check out how rusty the bottom of my pans above, are). (I’m dying to make a joke here about rusty bottoms, but I will resist) . . .
(Still resisting!)
. . . put a large piece of aluminum foil on the bottom rack of your oven, and 4. put your oily pan, upside down, on the top rack. Turn the oven to 350° and bake for one hour. There will be smoke! The children will ask what you are burning this time. You will ignore them. Maybe you will go to your secret place and eat a few chocolates and not share them with your cheeky kiddos. That’ll show ’em.
(This is hard.)
After an hour, turn off the oven, leaving your pan inside until it’s cool. Then pull it out and 5. rub it with clean paper towels, cleaning up any leftover drips of oil. 6. Sit down and have a glass of wine. You’ve accomplished something big today, no doubt about it.
(The things I resist for you lovely gentle readers!)
That’s it! Your pan is ready to use!
Side note: Back to the raw pans pictured above: just as a fun experiment, I rubbed the small pan with coconut oil, the middle one with olive oil, and the larger one with lard. After I had baked them for an hour, I saw very little difference in the three pans. The olive oil one has a slightly darker seasoning.
3. Now for the fun part: cook something!
The best way to build up a good seasoning on your pan is to cook something with a high fat content in it. And then, cook something else. Repeat. Again and again. Think pork chops, bacon, steak, fried chicken, and so on. Invite me over. (I’ll come.)
4. Clean it up.
I keep a stiff brush next to the sink, and I use it to clean my cast iron pans. Don’t soak your cast iron pans, but scrub briefly with a non-metal scrubbing pad or brush, rinse with hot water, and dry immediately. (And: never put into a dishwasher. Never, never, never.)
As I stated above, I do use hot soapy water, but I don’t let my cast iron pans soak, and I also dry them right away. (Notable exception: if somebody turns the pan up to HIGH and cooks scrambled eggs and then lets them sit on the burner for way too long after they are already done, effectively baking the eggs to the pan forever and also forfeiting a spot in your will, you’ll have a frustrating mess to clean up. In this case, I’d let the pan soak for just a few minutes–just to soak into that baked-on crust, and then I’d dump a couple tablespoons of kosher salt into the pan and scrub with a stiff scrubbing pad. Resist the temptation to scrape out the mess with a metal spatula (which could scratch), and also resist the very real temptation to whack the offending party upside the head with the newly-cleaned pan (because assault and battery would be wrong in any case).
5. Remind your pan of Just Who It Is.
And that is: a nicely-seasoned, yet pampered workhorse in your kitchen. I take a few minutes after I wash my cast iron pan, to maintain that nice finish. This is how you do it:
- Place your pan over high heat for 4 to 5 minutes or until you cannot leave your outstretched hand 1 inch above the bottom surface of the pan for more than 2 seconds. Meanwhile, tear off several paper towels. Wearing heavy oven mitts over both hands, remove pan from heat and pour in 2 to 3 tablespoons of oil. Holding handle in one hand, rub oil into pan with first batch of towels. Repeat with second and third sets of paper towels.
WTTWGR*: DON’T leave the kitchen and forget that you left it there on the burner–that’s so silly, who would do that?–(cough)–not only would that be a fire hazard, it would lead your family to believe that you were losing your mind–if you headed out to shut the chickens in, say, and forgot the cast iron pan entirely, filling the house with smoke and ruining the seasoning on the pan entirely, meaning you had to start all–over–again–!!
Who would do that, I ask? Nobody you know, I’m sure! *wince*
6. Store it well.
It’s tempting to just leave your cast iron pan in the oven when you’re not using it–I did this for years, reasoning that it would help the seasoning, to heat up again every time you use the oven, right?–but especially when you use higher temperatures for extended periods, it can be very hard on your seasoning. So after you remind your pan of just who it is (#5 above) store it in a dry place. If you have several cast iron pans, you can nest them, but put a clean paper towel between, to minimize scratching.
7. Use it again and again and again.
The very best way to keep a good seasoning on your cast iron pan is to use it often. Fry sausage. Fry hamburgers. Bake cornbread. Fry bacon. Pancakes, fried in (sigh) butter. Et al. Invite me over. I even make tomato sauce in mine, which goes against a lot of other advice, but I reason that if you keep a good seasoning on it (which I do) and you don’t let the acidic sauce sit in it, say, overnight (I’d never do that) then it won’t hurt it at all (and it doesn’t)(#anothermythbustedBOOM!). Also, I respond to the tomato-sauce-in-a-cast-iron-skillet naysayers: pftttttt!!
A Few More Things:
- If your seasoning, after much use, seems inadequate or thin, just repeat the seasoning step 1 above. The same goes if you see any rust. Be sure to keep an eye on the bottom of your pan, where rust most often will occur. Remember: rust is the enemy.
- Have a cast iron pan that is full of crud and junk and rust and 200-year-old fried chicken crust? Go to work on it with a stainless steel pad and lots of elbow grease. Scrub it up nice, and season as indicated in #1, above. You may have to apply a second coat of oil and bake for a second hour.
- Vintage cast iron tends to have a satiny smooth finish. By the 1950s, as production scaled up and was streamlined, this final polishing step was dropped from the process. The result? Modern cast iron retains that bumpy, pebbly surface.
- Once your pan is fully seasoned, repeat process in #5 every second or third use, or when the pan starts to lose its smooth, nonstick finish. Don’t forget the bottom of the pan!
- *WTTWGR = “word to the wise gentle reader” FYI, FWIW.
And Finally:
Here is a very simple recipe whereby you can use your cast iron skillet to cook steak, to get you started. All you need is:
- 1 Tb olive oil
- a good-sized steak
- 2 Tbs butter
- a handful of fresh herbs (I had summer savory and thyme, so that’s what I used)
- freshly-ground salt and pepper
Perfect Pan-Fried Steak
And here’s how you accomplish this:
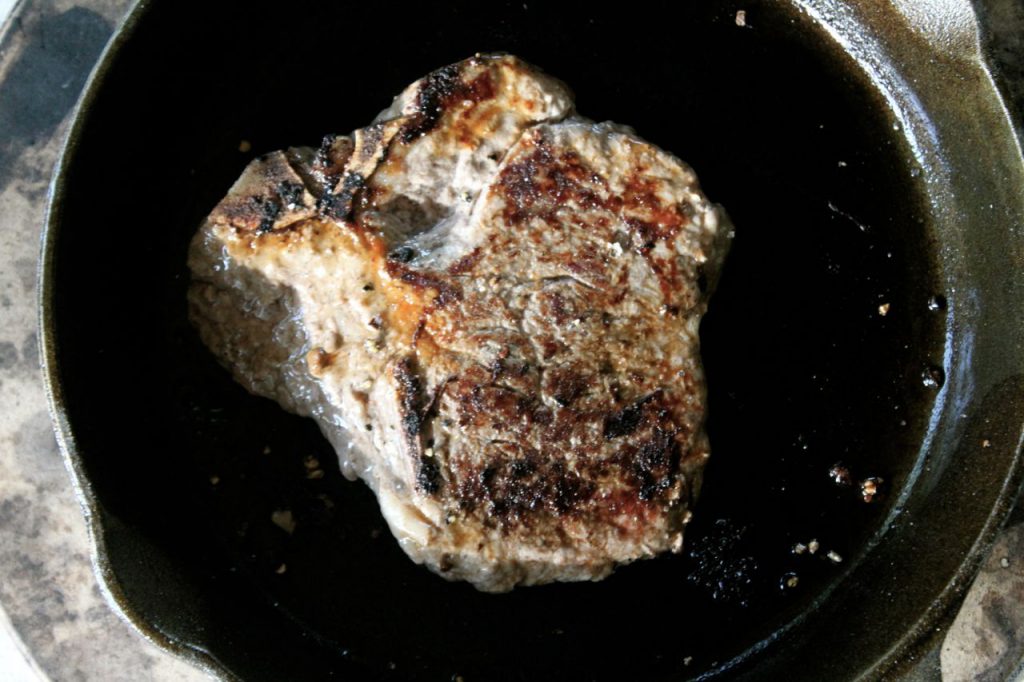
- First, preheat your oven to 350°, and heat up your pan on the stove top, on medium-high heat, and coat it with olive oil, schmearing it around until it’s very hot and steamy.
- Add your steak, grinding salt and pepper on it, and sear, letting it get very nice and brown on one side, and then the other (2-3 minutes per side). Turn on your range hood if you have one–your kitchen will be smoky.
- Place the steak–pan and all, of course–into the preheated oven and roast for a few minutes more, until the middle (as you check it) is the way you like it. If you prefer a rare or medium-rare steak, you can omit this oven step.
- Put the pan back up on top of the stove, and drain most of the grease. Add the butter and melt it until it is brown and bubbly. Spoon the melted butter up on top of the steak, add more salt and pepper if necessary, and add your fresh herbs into the melted butter. Cook for another minute or two, until the herbs are aromatic and you can’t stand it any more, you just have to sit down and eat it. 🙂
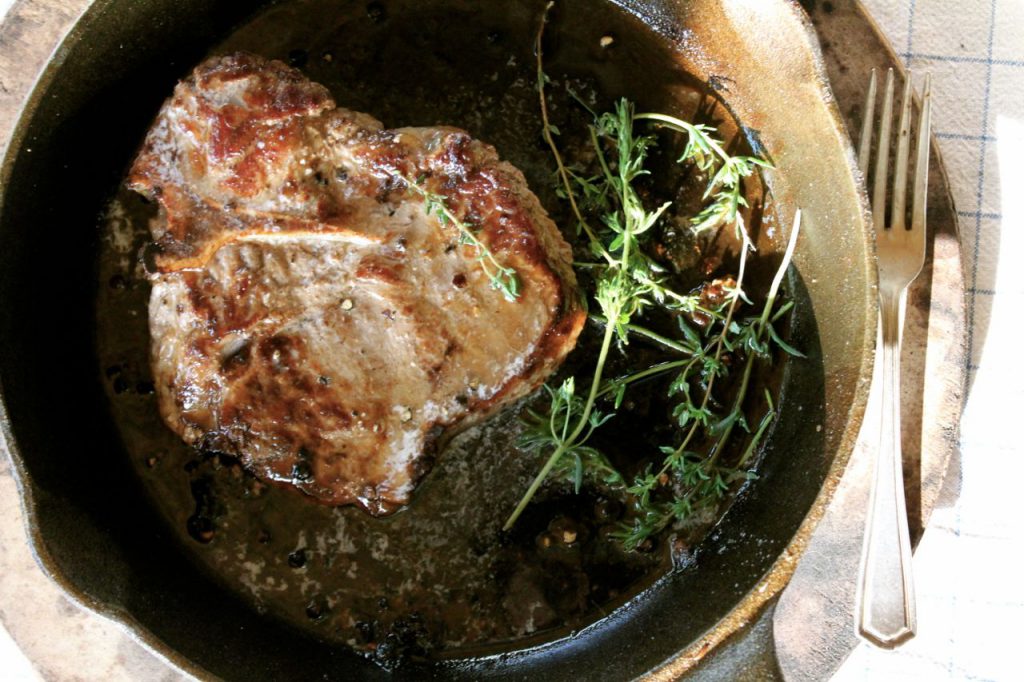
Time for dinner! Now–wasn’t that quick and easy? I just made beef steak this way–this very week!–and with steamy, buttery corn on the cob and tomato slices, it was quite easily the best meal we’ve had in a very long time. And the whole shebang took me 30 minutes, tops.
Oh! And if you already use cast iron, take a look at this pan. I picked one up and I looooove it. I mean it! I’d marry it if I weren’t already spoken for. . . LOVE IT. I use it nearly as often as I do my skillet. *smooooch*

That’s what I’m talking about, folks. Great pans for not much money, and they last for-ever!
*hugs*
When my cast iron pans get too grubby, or when I get a horribly encrusted one at a yard sale, I run them in my oven’s self clean cycle. They come out clean as the day they were made and ready for me to reseason. It’s very easy, no elbow grease needed!
Thanks for your wonderful tips!
Wow, that’s a great tip! I’m going to add it to my post, with your okay, Julie. Thank you!
Amy – as a fellow vintage cast iron pan collector and user for 40-50 years, I concur with everything you wrote above.
However I would specifically warn your gentle readers about NOT using Brillo and similar detergent-laden steel wool products. If I have a cast iron piece that has a piece of fried potato or scrambled egg stubbornly adhering to it, I do the brief hot water soak, then scrape it with a wooden spatula, and then – if necessary – I use one of those sponges with the sandpapery stuff on one side.
Otherwise, your instructions are complete and accurate based on my experience.
Thanks, Gene. Well said. And I concur!
Thank you for saying you use soap. I don’t always but if I’m cooking something stinky, say fish, I use soap before mt next use. I don’t want flavors to carry. I love my cast iron. Cooking cornbread in it is the best. Or fritatta! Oh fried potatoes…
Jillian,
I used to never use soap–but shoot–it’s really hard to get the greasiness cleaned off, if you don’t use a spot of soap. My own adult kiddos are going to gape at this, because I taught them all to use kosher salt. And no soap. But even old dogs do learn new tricks. I like to cook all the things you mentioned, too. And a cast iron skillet is super-handy for roasting potatoes or sweet potatoes in, too. I just line it with aluminum foil = no clean-up whatsoever!Boom, baby!
I’ve never used a big ol’ cast iron skillet, but when my in-laws introduced me to them a few years ago, I’ve longed to find one at a thrift store ever since! I still haven’t found one, but when I do, this post will be very handy so I know how to care for it 🙂 Thank you for sharing your wisdom!
Love my cast iron. Hubby is finally coming on board too.
What a deal to find!! Super happy dance.
Rusty bottoms … Giggles
I do have a chain mail cleaner that I use once in a while
The Ringer Stainless Steel Chainmail Cast Iron Cleaner, XL 8×6-Inch https://www.amazon.com/dp/B00FKBR1ZG/ref=cm_sw_r_cp_api_ymcJxbC3GHSQN
Great minds Amy! I hadn’t read this post yet, but I did make steak in the CI skillet last night for supper. I clean mine with either the oil & salt method if not too crusty. Last night it was so I used lots of HOT water and my green scrubber. Then dry with a towel and back into a warm oven to completely dry. If I find my skillets are starting to stick, I’ll just fry some potatoes in them or make some sausage or bacon. That seems to adjust the seasoning. Of course if it really needs some upping I’ll reseason.
Great information. I really enjoy cast iron cooking, For all those people using non-stick Teflon type pans, read up on them, they are poison to your system. The coatings on many of those “non-stick” pans leeches into the foods you cook. You and your family will be a lot safer with cast iron pans. Scratch the bottom of a non-stick pan and it is no longer able to do the job so you buy a new one. As you said, cast iron pans are for life. They work on the stove top, oven, on the out door grill and over an open fire on a camping trip………now that’s service. Great article Amy….SO you will be over if I invite you for some free range chicken fried in a cast iron pan…consider yourself invited…I’ll even have some wine available for you to enjoy while I do the cooking……..
You’re on, Chef. I keep inviting myself over, and giving you all these great ideas for what to cook, after all! 🙂 And great reminder on the teflon. I haven’t used it myself since I was a newlywed, and discovered cast iron pans.
Ah, thank you!! I needed to read this. I need to season those pans today!
You’re welcome, sweetie. If they need it, give them several sessions in the oven. It won’t hurt a bit.
True story; had a pan fire in one of my old cast iron pans- had been my great grandmothers-firemen said at least only the pan was ruined and the house did not burn down! I told him the pan would be fine with a bit of work. A couple weeks later, I visited the fire station with my redessiner and back to working order, cast iron pan, filled with keftethes (Greek meat balls).
They were impressed! They decided to start cooking with cast iron.
Diane, I’m so impressed! That’s an awesome story. Thank you so much for sharing it with me. Those firemen will probably tell that story for years!
I recently had an argument with a young person about just this topic! He stated that he didn’t want to own cast-iron because you couldn’t wash it. I looked at him in surprise and said oh for god sake’s wash your cast-iron please I’m begging you wash the cast-iron! He seemed to think I’d lost my marbles. I explained to him just exactly how to season the pan and how to wash it when it was extremely grubby. I also told him one of my favorite tricks to reseasoning the pan is to bake cornbread in it! I’m uncertain that I convinced him but since I’ve got my own 35 yr. old cast iron as well as some from my mammaw that I use every day he can stay ignorant! Thank you for your post!!
Sheila,
I use my cast iron pans every day, for everything–! I love them and they get better with age. And I DO wash them, too! I don’t know where those myths about not washing got started!
Hi, nice blog.
DO you know if Benjamin & Medwin pans could have lead?
Hi Robert! That would be a question for further research! No, I am not familiar with those pans. Sorry!
Wanting to know if B&M cast iron pans are safe being that they are from China.. found a antique shop but nervous to use after reading . Anyone know?
I wish I could help with this. I frankly don’t know, but I’m sure you’ll find somebody who does. Have you tried doing a search of this Facebook group? https://www.facebook.com/groups/castironskillet/