Make a vintage pot-holder!

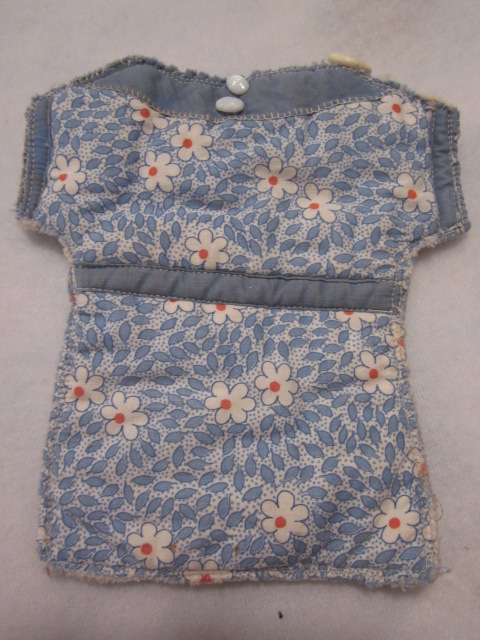
Isn’t this sweet? I especially like the tiny miniature buttons and the hand-stitching around the yoke of the dress.
I picked up this cute little vintage pot holder, in the shape of a ladies’ house dress, at my favorite thrift store, the Etcetera Store in Seward, Nebraska. It put me back 50 cents, I think. I thought it was charming, and immediately decided to (shamelessly) copy it, and make sweet house dress pot holders for all the ladies in my family, for Christmas stocking-stuffing.
If you’re anything like me, you’re trying to remember the mentals notes that you made last year after Christmas was over: Start shopping earlier, for example. Spend less, for Pete’s sake. Make more gifts.
Well, you’re in luck, you blessed, faithful, Gentle Reader, you. Here’s a how-to tutorial just for you. You could make a pile of these in an afternoon. Add a couple to your own charming kitchen, and the rest can go in gift bags or stockings of your favorite people! Or imagine how delightful a box of these (all in different styles and colors, natch!) would be, all wrapped up for a favorite cook in your life?
‘Nuff chatting. Here we go!
You need the following: Stiff paper (for pattern), scraps of cotton fabric, thread (of course), small buttons, rick-rack or lace or anything you want to use as trim, scraps of wool fabric and/or quilt batting.
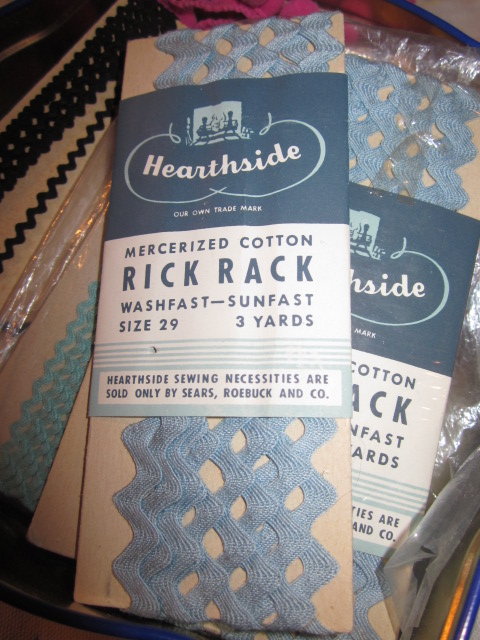
I pick up bits and pieces of rick-rack and lace and ribbons and other sewing notions at thrift stores and garage sales, for such a project as this! I almost hate to tear off this old label, though; I do love those old labels.
1. Cut out your pattern* (it’s a simple shape) of a dress shape out of stiff paper, and then, using the pattern, cut out (for each hot pad) one piece of wool (an old blanket works well, or any wool that you may have on hand), one piece of quilt batting, and two pieces of cotton print: one for the front, and one for the back.
2. Sew any trim or details that you want on the front piece of cotton. Here I’ve added a yoke and a cute little pocket, and a tiny button. I leave the back piece plain, but you can do whatever you like!
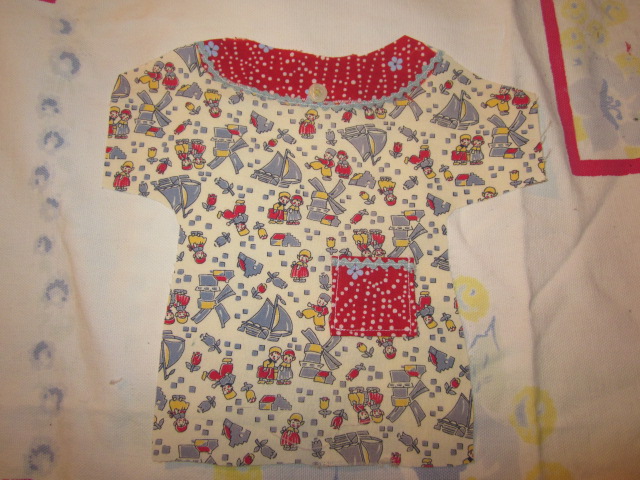
You can get as fancy or keep it as simple as you like, in putting fun little details on your house dress.
Here’s a close-up of the pocket, complete with a hankie. 🙂
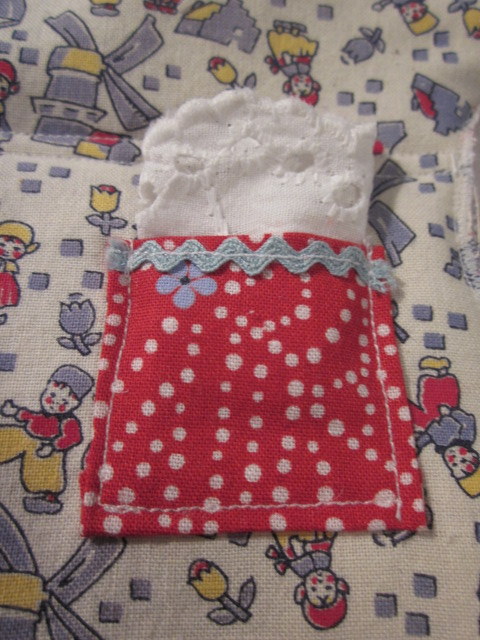
Everybody knows that a proper housewife carries a clean lace hanky at all times!
3. Sandwich the pieces in this order: back cotton + batting + wool + front cotton, and pin together carefully.
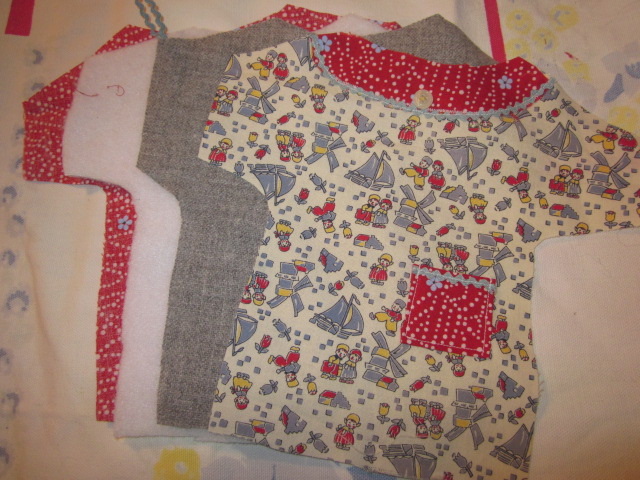
Here are the layers, in order, ready to be sandwiched and pinned.
4. Sew carefully along all the edges, taking in a scant 1/4″ seam. Don’t worry about it if the pieces don’t line up exactly. You’ll be trimming the excess next. If you’d like, sew a piece of rick-rack for a hanging loop, as shown, catching it between layers.
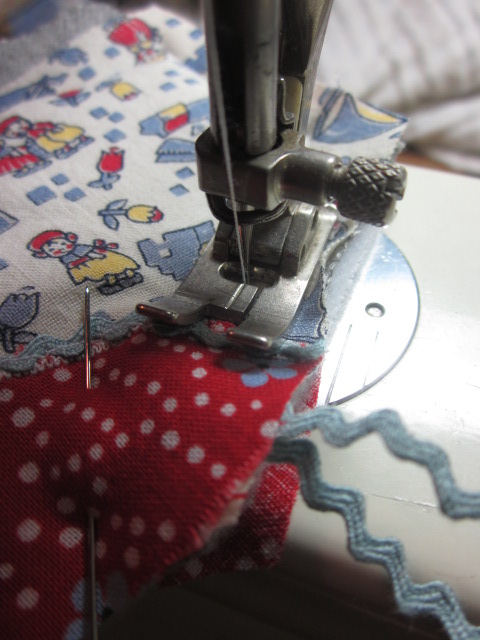
- Here you can see where I’m sewing in a loop or rick-rack for hanging.
5. Carefully trim very close to stitching, and then (with your machine set on a very narrow, very close zig-zag) run a zig-zag stitch all around the perimeter of your hot pad. I usually sew a seam across the middle of the housedress, too, to help hold all the layers together (this could be the waistband).

- Carefully trim off the excess, and you’re almost finished!
6. Finally, trim off any stray threads and tra-laaaa! You’re finished! Now that you’ve made one, it’ll be child’s play to make a few more–perhaps for gift-giving, and certainly for your own kitchen! Have fun!
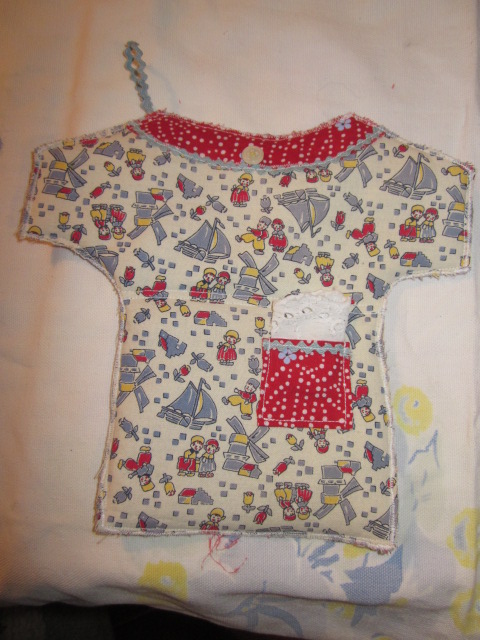
Tra-laa! It’s finished! Now–wasn’t that easy, and fun?
If you decide to make a few of these, I’d love to hear about it. If you send me pictures, I’ll even post them on a future blog post! And if you’re a little leery about making your own pattern, send me a message with your e-mail and I’ll share mine* with you!
I’ll be sharing this post with the kind folks over at The Prairie Homestead and Frugally Sustainable. Come on over and learn a few things with me!
- How to Succeed at Starting a Home school Theater Group Without Even Trying (more or less)
- Jump-start your running or walking routine: sign up for a race!
Very in vogue project – love it 🙂
Thanks janice!
What a fabulous idea and they look so pretty too, thanks so much for sharing this lovely idea, have a wonderful weekend 🙂
Thank you Anita-Clare. Thanks for looking!
Fabulous idea and I love Vintage! Too bad I no longer own a sewing machine, donated it last year.
Thanks for looking, Victoria! I hope you have a wonderful day.
Oh! Wouldn’t those make lovely stocking stuffers next year? 🙂 I think I might have to go make one tonight!
Thanks, Amy!
Anne
What a great idea! I’ve never seen potholders that looked like this before. I’m tempted to make one myself. I’m pinning for later.