
How to Propagate Rosemary from cuttings: easy-peasy way to get free plants!

Learn how easy it is to propagate dozens (hundreds?) of fresh new rosemary plants from cuttings. It’s fun and so easy!

Yay! Rosemary plants in every window this winter!
Pssst: There may be affiliate links in this post, leading to a company paying me a small amount for mentioning products I recommend (that is) if you click through and purchase something. This will not cost you an extra penny, and I do thank you in advance! Full affiliate disclosure above.
Crazy Quick Step-by-Step: How to Propagate Rosemary from cuttings
- From a healthy rosemary plant, take cuttings that are around 6″ long.
- Snip the cuttings into 3″ sections.
- Scrape off the bottom 1″ of rosemary leaves from the cuttings, being sure to scrape a bit of the bark from the cutting too, if you use a cutting with tough bark on it. (I use a small knife or my fingernail to do this.)
- Dip the cutting into propagation powder or liquid.
- Fill small pots or plug trays with damp potting soil.
- Using a stick or a pencil, make a hole in the potting soil, and stick your cutting in, firming the soil gently around it.
- Water well, and put the pots in a sunny windowsill. Keep damp (but not soggy) until the cuttings put out roots, probably in about 3-4 weeks.
- Pot up your new rosemary plants!
But . . . you may well ask . . .
Why would I want to propagate more Rosemary plants from cuttings?
Silly! Why wouldn’t you want to propagate more rosemary plants?
You have a lovely rosemary plant that you have been snipping and clipping from all summer. Maybe it’s on your porch; perhaps it’s sitting in a pot on the edge of your garden. In any case, you’ve become accustomed to using fresh rosemary in recipes (like this yummy dip).
Maybe others have regarded you in wide-eyed wonder as being especially clever for baking fresh rosemary into bread, like this Rosemary Sea Salt Focaccia bread (fabulous!). Possibly you use a recipe like this one, fancy (but easy to make) bread with garlic-rosemary butter. (I mean to tell you: slathered over the hot bread . . . . ahh!)
There are plenty of great reasons to propagate your rosemary plant with cuttings. Among mine:
- A plant grown from cuttings will be an identical clone to its mother plant. So if you love the plant you have right now, you’ll love the baby plants that come from it.
- You can grow rosemary from seeds, but it’s not especially easy and it takes a lot more time than simply growing plants from cuttings.
- My favorite: If one rosemary plant is nice hanging out by a sunny window, a dozen rosemary plants are even nicer.
- A healthy, beautiful rosemary plant is a great gift for a fellow gardener and herb-lover.
- Free plants! (also my favorite)
Convinced? Me too. So let’s get to it. Propagating rosemary is simpleness itself.
Here’s what you need to propagate your rosemary plant.
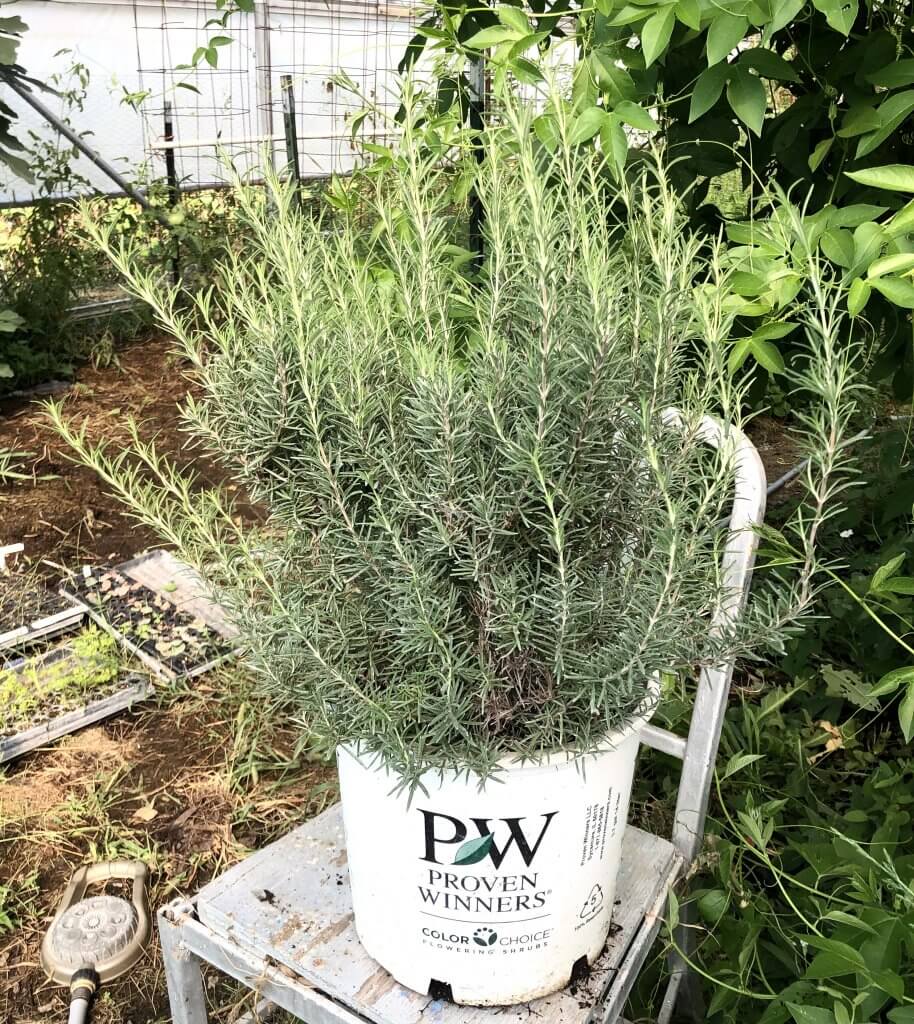
- a healthy rosemary plant, first and foremost
- some loose potting soil
- a plug tray to push the cuttings into, or some small pots (Re-used 6-packs from your annuals that you planted in the spring cost nothing, and work very well if you want only a small amount of plants.)
- A pair of sharp plant clippers (see the pair that I recommend, below)
- Propagation liquid or powder (my recommendations also below)
- a sharp knife (or a sturdy fingernail)
And this is how you propagate rosemary:
1. From a healthy rosemary plant, take cuttings that are at least about 6″ long.
How do I know which pieces of the plant to cut?
First: they should have a firm stem, not too soft and willowy.
Second: Think of the plant’s aesthetics. You want to shape the plant to be more attractive when you have finished cutting, not less. Don’t overthink, just use the cutting experience to make your rosemary plant more pleasing in shape.
2. Snip the cuttings into 3″ sections.
By the way, if you enjoy doing this sort of work, do you want to come work for me? kidding! er, I mean . . . you really ought to purchase a pair of these. They are my favorite pruners, and work great for cutting flowers, herbs, trimming the soft growth on my small fruit trees, and many other things.
They’re the best.


Two healthy rosemary cuttings
3. Using your fingernail or a sharp knife, scrape off the needles from the lower 1″ of the cuttings, including a bit of the bark.
(Pro tip: save those needles to use in your recipes, or dry for later use.)
Those bits of the bark that you scrape off? That’s where tiny roots will grow.

See the bit of bark scraped off? That’s where the roots will grow.
4. Dip the cutting into propagation powder or liquid.
This is an optional step, but I can tell you from experience that more of your cuttings will put out roots if you use the propagation product. And trust me, one small container will last you a long, long time. (I do a lot of this sort of thing and I have bottles that are several years old!)
This is the one I usually use:


This is the fun part.
5. Fill small pots or plug trays with damp potting soil.
If you just want to propagate a few plants, small pots work well. If you’d like to give everybody in your family a rosemary plant for Christmas, you may want to grab a few plug trays, to keep things efficient.
And to impress your friends and relations.
You can also grab the little 6-packs that you bought annual plants for your garden this spring. They work great, too, and won’t cost you a thing.

6. Using a stick or a pencil, make a hole in the potting soil, and stick your cutting in, firming the soil around it.
Why use the stick to pre-hole the potting soil? Good question, Grasshopper. That way the propagation powder stays on your cutting, and isn’t rubbed off on the way in.
It took me awhile to figure this one out!

By the way, every one of my rosemary cuttings put out roots. Every one! Success = 100%!
7. Water well, and put the pots in a sunny windowsill.
Or someplace warm and sunny. Keep damp (but not soggy) until the cutting puts out roots, which happens around 3 to 4 weeks.
8. When your new plant starts to grow a little in the plug tray/little pots/whatever, pot up your new little rosemary plant!
I like to wait to perform this last step until there are plenty of roots on the cutting.

See the bitty woots?? #cute
That’s it! Follow these super easy instructions, and before you know it, you’ll have a lovely (and useful!) rosemary plant in every window!
Other herbs that you can propagate with this same method:
This is a quick and off-the-top of my head list of herbs that I’ve propagated this same way. It’s not exhaustive, I’m sure!
- sage
- winter savory
- thyme
- oregano
- lavender
- marjoram
Pin it for later

Have fun! And if you have a friend or relation who is curious about rosemary propagation, would you share this post with them?
Thank you!
*hugs*
- Easy Herby Dip Recipe: great on everything!
- Make your own chili powder with dehydrated hot peppers (!!)